

Image: https://unsplash.com/photos/black-toyota-car-steering-wheel-A3cJmkYwi6k
A clean vehicle with factory wheels, faded badges, and mismatched lighting still reads as stock from 20 feet away. Gloss paint can’t hide a tall wheel gap, cloudy lenses, or chalky window trim, and those details show up in photos as much as they do in a parking lot. Most style upgrades look better when they follow the car’s proportions and use a small set of repeatable finishes.
Parts add up fast, and small mistakes are hard to undo once wheels, trim, and lighting are installed. Poor sizing can make the body look heavy, dark accents can look scattered, and cheap bulbs can reduce night visibility. A short checklist helps sort what to fix first and what to leave alone, then compare options that work together before spending money.
Build Around Proportion First
Wheel gap and ride height are the first things most people notice when a vehicle is viewed from the side. Proportion should guide the first major style decision because it changes how every other upgrade reads from the side, front, and rear. Lower coupes and sport sedans can carry a deeper, more aggressive profile without looking forced, especially when the tire sidewall and wheel diameter stay balanced. Taller crossovers and SUVs usually look best with a cleaner setup that keeps the body from reading heavy.
Wheel choice is where proportion gets tested because width, offset, and face design change the stance more than photos suggest. For shoppers comparing aftermarket options, Ferrada wheels fit naturally when the size, finish, and face design support the vehicle’s paint color, trim package, and stance instead of overpowering them. A bright finish can fight chrome delete trim, and an overly concave face can look out of place on a tall ride height. Ask for exact specs and test-fit guidance before ordering.
Use Paint Contrast Carefully
Two-tone changes stand out most when the darker area follows a clean factory line like the roof edge, beltline trim, or the lower rocker break. Contrast works best when it has one clear job, such as defining the roofline, sharpening mirror caps, or giving lower trim more definition. A black roof on a white vehicle, satin mirror caps on a gray body, or a subtle spoiler lip can add personality without covering the car in disconnected accents.
Placement matters as much as finish because contrast can look choppy when it cuts across curved panels or ignores existing trim seams. The strongest results come from placing darker details along natural body breaks, where the contrast makes the vehicle’s contours easier to read at a glance. Gloss black can highlight swirl marks and water spots, while satin hides wear better and matches many factory trim textures. Check the look in shade and direct sun before committing to wrap or paint.
Sharpen Lighting Details
Cloudy headlight lenses, yellowed fog housings, and dim license plate bulbs can make an otherwise well-kept vehicle look older at night and in daytime photos. Lighting changes show fast when the basics are handled first, starting with lens restoration or replacement and fresh bulbs that bring back clean output. Crisp white lighting reads modern on headlights, fog lights, license plate lights, and entry lights, and it keeps the vehicle looking tidy instead of patched together.
Overly blue bulbs often look harsh through clear lenses and can reduce usable visibility on wet roads, dark pavement, and unlit shoulders. A cleaner result comes from keeping the light temperature consistent across the front, rear, and cabin so nothing looks mismatched when the doors open or the brakes are on. Verify legality and aim after installation, then confirm the beam pattern stays even on a flat wall before driving.
Refine Trim Pieces
Sun-faded badges, cracked emblems, and cloudy grille inserts pull attention away from clean paint because they sit at eye level and frame the front and rear. Tired window trim, worn door moldings, and dealer plate frames read like unfinished details even when the body is spotless. Bulky accessories can do the same by adding visual weight where the factory design is usually tight and clean. Addressing these small pieces first makes later exterior upgrades look intentional instead of stacked on.
Finish consistency matters because trim is usually seen all at once, especially along the beltline and around the mirrors. Blacked-out badges can work when the grille, window trim, and other dark pieces already match in gloss or satin, and carbon fiber mirror caps look best when the material appears elsewhere in moderation. A small lip spoiler reads cleaner than a tall wing on most daily drivers. Confirm fitment, mounting method, and paint-match options before ordering.
Detail the Cabin
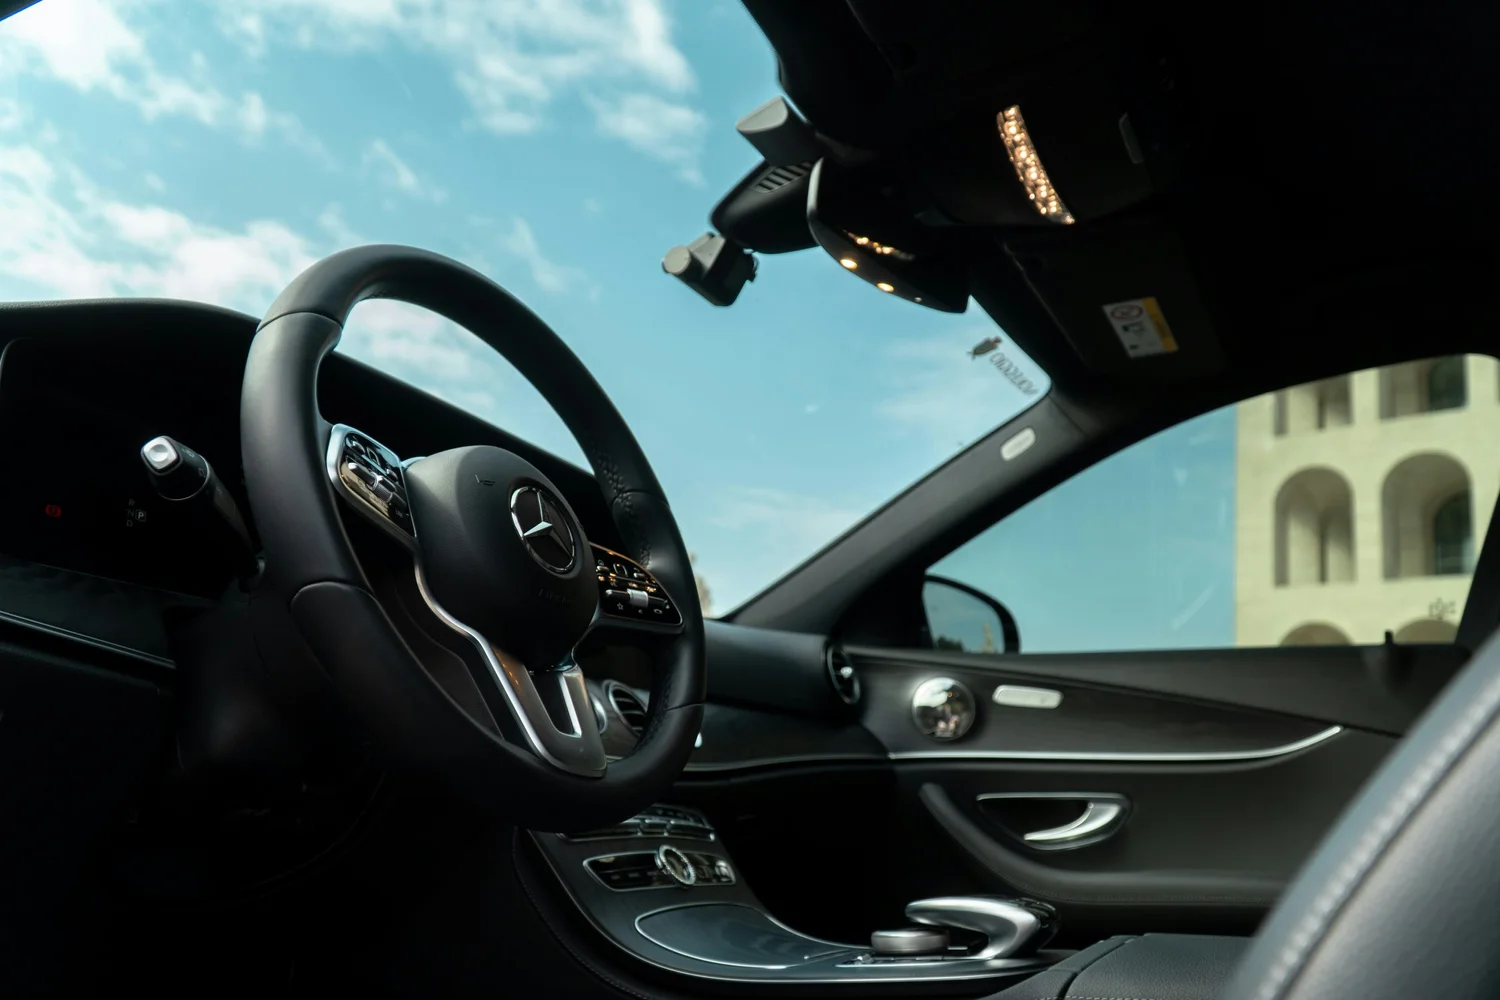
Scuffed door sills, flattened floor mats, and a cracked shift knob are the kind of wear points that stand out the moment the door opens. Faded pedals and sticky buttons make the interior feel older than the exterior, even when the paint and wheels are dialed in. Messy chargers draped across the console and exposed dash camera wires look like unfinished work, not daily convenience. Cleaning helps, but replacing the pieces that get touched and seen every day changes the cabin’s baseline fast.
Material match is the part that keeps interior updates from looking random. Leather pieces should mirror the factory grain and stitch style, metal trim should match the OEM sheen, and suede-like panels should land where the car already uses soft-touch surfaces. Carbon fiber add-ons look cleaner when they follow existing trim lines and don’t stack over multiple textures. Check reflectivity in daylight and at night so glare, fingerprints, and seams don’t become the next problem.
When you want a clean vehicle to stand out, treat every change like it needs to match the same direction. Use proportion as the first filter, then add controlled contrast only where the body lines already support it. Refresh lighting for a consistent white tone, fix trim that looks faded or out of place, and keep the cabin as tidy and matched as the exterior. If an upgrade can’t be explained in one sentence, or it introduces a new finish you don’t repeat elsewhere, skip it. Pick one area to correct this week and price the parts.